Uploading
There are two methods for uploading. The first is when you have the original project and you want to preserve the symbols and comments. The second method, when you don't have the original project, will upload everything from the CPU but will have no associated documentation (i.e. symbols and comments).
Uploading to an Existing Project
With the existing project open, select the View > Online menu item.
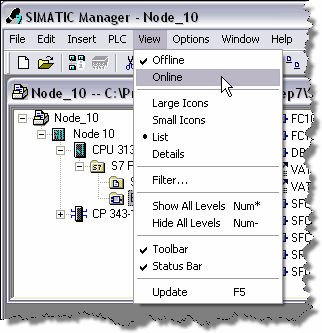
This is the same as the Online button on the icon bar.
![]()
This will open up another window called the Online Partner. It shows the existing blocks inside the CPU. The Online version is indicated by the highlighted title bar.
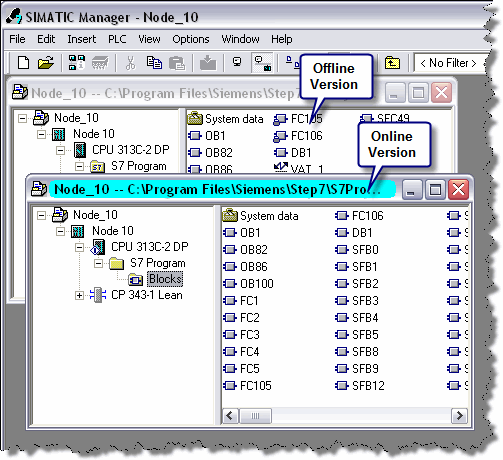
There is a connection between these two versions so that uploading from the online partner makes sure to preserve all the symbols and comments. Be careful. After uploading, make sure to close the online partner and do all work from the offline version.
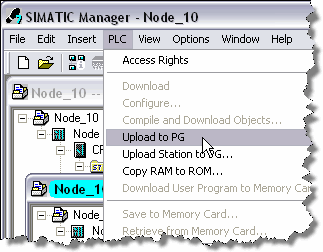
To upload individual blocks, select them in the Online view and choose the PLC > Upload to PG menu item. For a full upload, select the Block folder and do the same.
Upload without an Existing Project
Follow these steps when you do not have the original project but wish to upload the program for backup purposes. With an existing project open or a new blank project select the PLC > Upload Station to PG… menu selection.
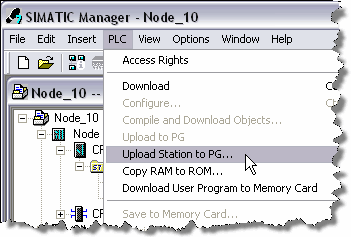
In the next screen, fill in the slot the CPU is in (this is always 2 for S7-300) and the node address of the communication port on the CPU. In the case below we are talking to a CPU over MPI with node address 10.
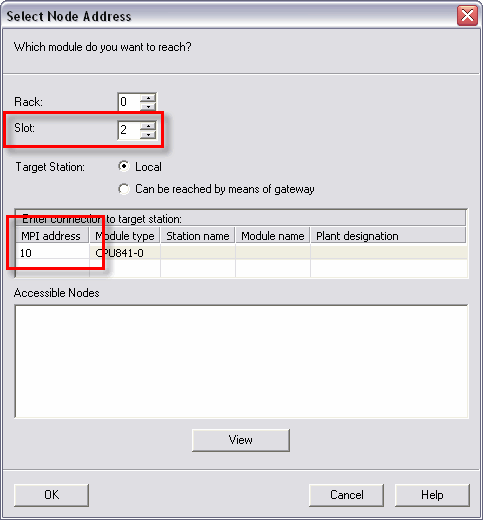
After clicking OK, the whole contents of the PLC including all blocks and hardware configuration will be uploaded into a new station in the project.
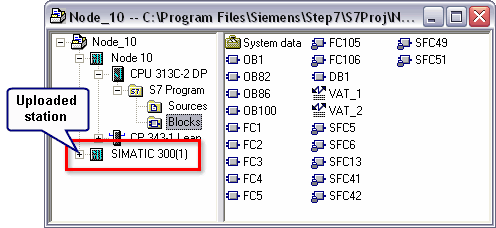
While this project contains no documentation, it can be used as a backup to download later if needed.